How To Enable E-Invoice With Fynd Platform
Introduction
‘e-Invoicing’ or ‘electronic invoicing’ is a system in which B2B invoices and a few other documents are authenticated electronically by GSTN for further use on the common GST portal. Just like how a GST-registered business uses an e-way bill while transporting goods from one place to another. Similarly, certain notified GST-registered businesses must generate e invoice for Business-to-Business (B2B) transactions.
Currently, the e-invoicing system is already implemented for the GST-registered businesses whose aggregate turnover in any previous financial years (from 2017-18) exceeds ₹5 crore. From 1st August 2023, it shall apply to those with a turnover of more than ₹5 crore.
As e-Invoicing is required only for B2B invoices, go through all the steps below only if you are selling on AJIO Sales Channel.
Tutorial
Configuring e-Invoice
STEP 1: Generate API Access credentials- Log in to the Government portal (click here).
- On left-hand pane, click on API registration.
- Click on User Credentials.
- Click on Create API user.
- A One-Time Password (OTP) will be sent to your registered contact number. Enter the OTP to verify your identity.
- Select the Through GSP option.
- Select the GSP Name (Reliance Corporate IT Park Limited) from the drop-down, and enter a User Name and Password.
- On the top-left, click the home icon.
- Once again, select API registration, then go to User credentials, and then List of API users.
- The list may contain multiple users. Search the user you created, and copy the User ID as it is.
You can use the generated credentials for only those stores/locations that have the same GSTIN as you used to login in step a.
- Login to Fynd Platform.
- Go to Profile → Locations
- Click the location where you want to enable e-Invoicing.
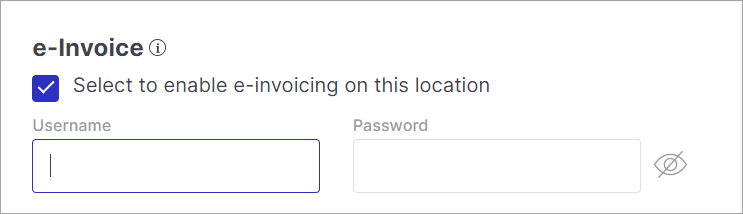
- Scroll to the bottom, click the e-Invoice checkbox, and add the generated username and password.
STEP 3: Inform the corresponding Assistant Manager at Fynd.